Instructions for filling a car air conditioning system using CarFix products
BEFORE USE, MAKE SURE TO WEAR GLOVES AND SAFETY GLASSES.
Prepare the hose with the pressure gauge: In the needle valve, retract the needle as far as possible by turning the knob to the left. Do this before screwing the hose onto the canister to prevent gas from leaking.
Our cans have a non-return valve – use a pipe with a needle valve for them. This allows you to stop charging at any time without the gas escaping.
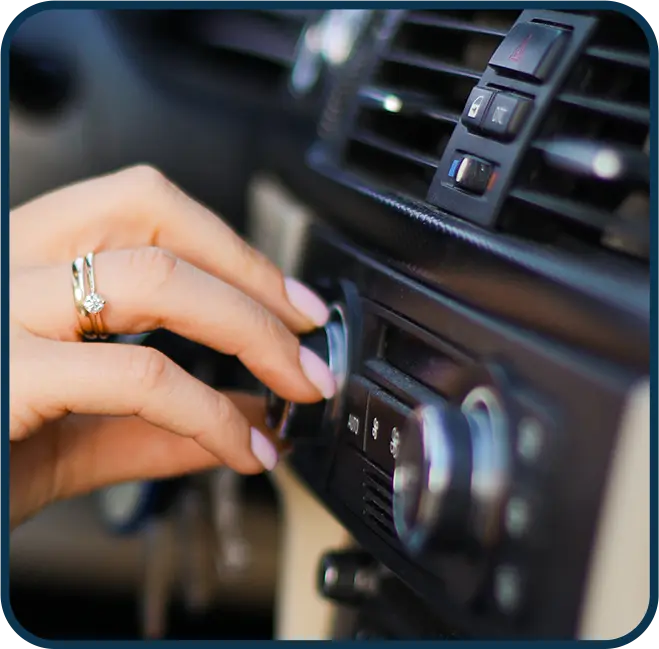
Prepare the vehicle: Start the engine and turn on the air conditioner (air conditioning).Open the bonnet to access the air conditioning components.
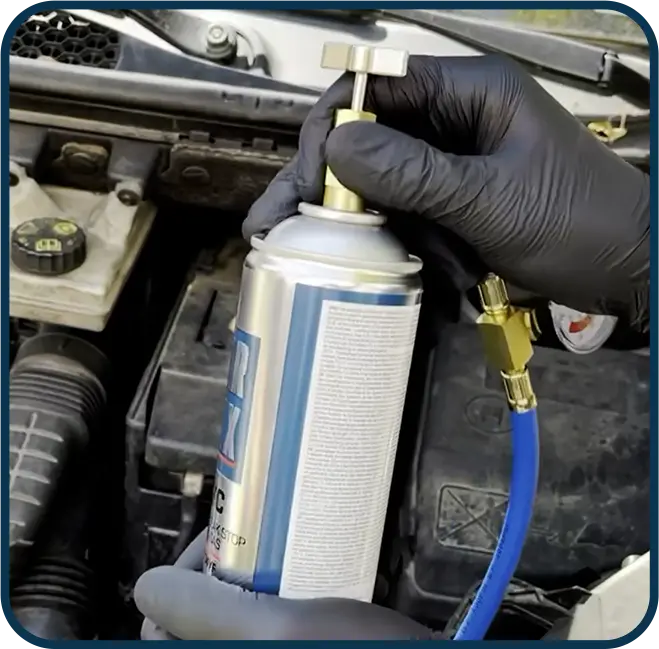
Prepare the CarFix® container:
Shake the CARFIX® container well. This will ensure that all five substances contained in the product are properly mixed and activated.
Connect the pressure gauge:
Connect the hose with the pressure gauge to the CARFIX® container. Ensure that the connection is secure.
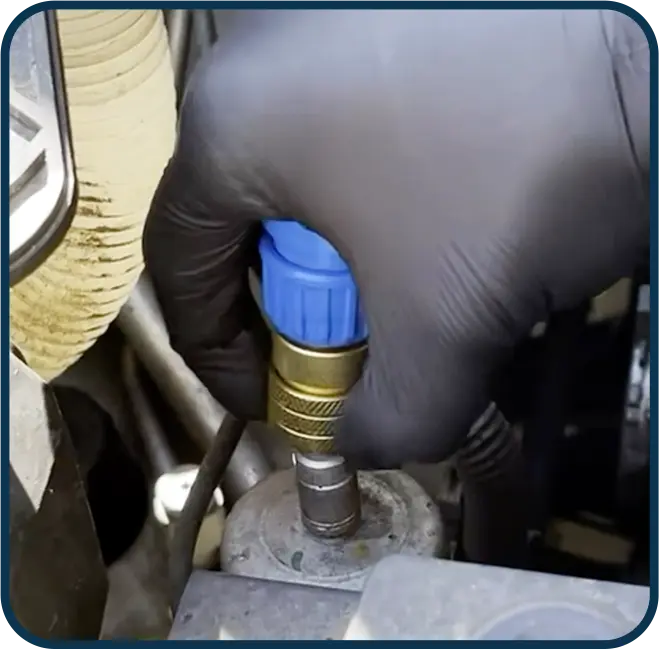
Find the low pressure service valve:
Identify the low-pressure (LP) service valve for the air conditioning system. It is usually marked with the letters "LP". The valve is located on the aluminium pipe of the air conditioning system, usually near the engine or behind the front belt. The LP valve has a diameter of 13 mm or 17 mm.
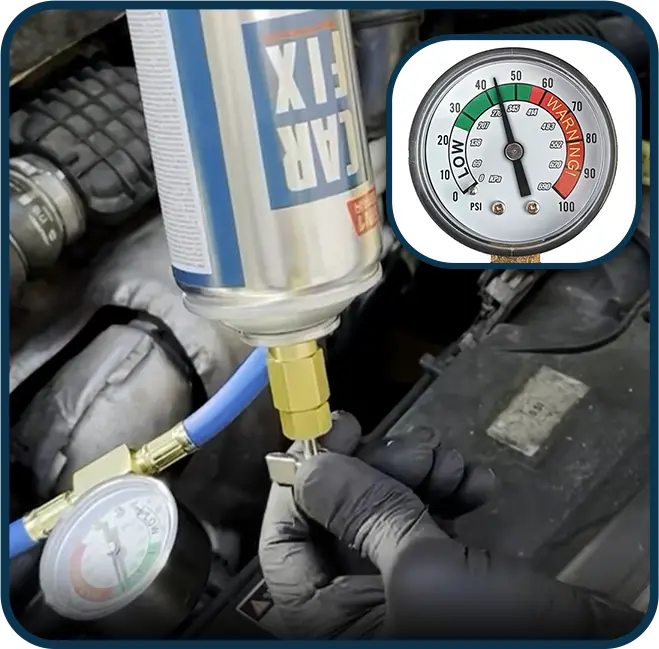
Inject the contents of CARFIX®:
Turn the CARFIX® container upside down.
Start charging the contents into the system via the LP service valve.
Monitor the pressure gauge: Carefully observe the pressure gauge. Continue the process until the gauge reads 40-45 psi, which is approximately half of the green area on the gauge.
Allow the system to circulate:
After injecting the CARFIX® solution, do not switch off the engine or air conditioning immediately.
Allow the engine and air conditioning system to run for a few minutes. This allows CARFIX® to circulate fully and achieve maximum performance.
By following these steps with CARFIX®, you can be sure that your air conditioning system is properly maintained and running smoothly.
Replenishing air conditioning with R1234yf refrigerant: